product search
Indoor PlaygroundNinja WarriorOutdoor PlaygroundTrampoline
search

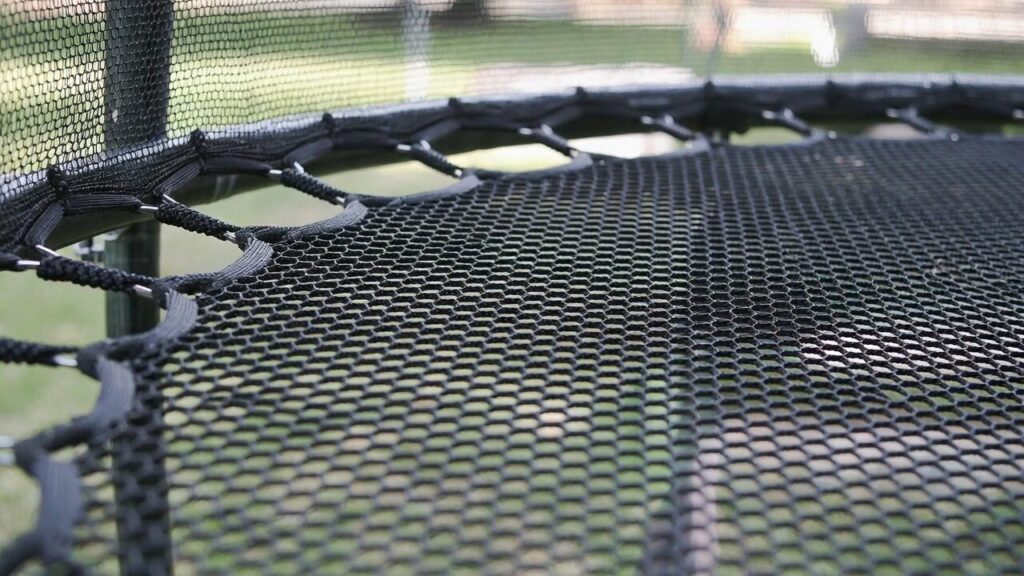
If you want to tie the bottom of the trampoline safety net firmly and ensure that there is no gap in the design, the most effective way is to use “weaving technology” . To get started, you need to tie a heavy double knot with your tether at the first V-ring (that is, the triangular iron ring) near the support rod. The next action is to thread the needle: put the rope through the mesh at the bottom of the safety net, and then around the jump pad under the corresponding V-ring. You need to keep repeating this “zigzag” pattern along the entire circumference of the trampoline. Here is a hard indicator: the rope must pass through every mesh and pass around every metal ring without omission, so as to completely eliminate any possible pinch points. In the process of operation, you should always keep the tension of the rope consistent to prevent the net surface from loosening. When finally turning back to the starting point, be sure to use square knot or lock knot to fix the rope head to the frame. This method ensures that no child’s hands and feet can slide into the gap between the net and the spring, creating a truly 100 percent safe jumping environment.
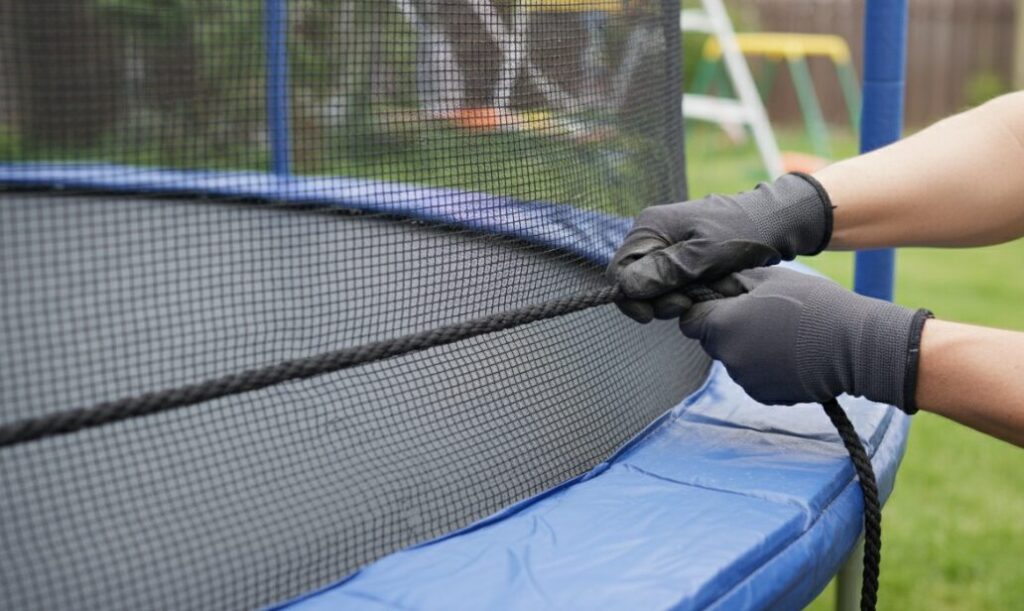
A solid installation project, the foundation lies in the first V-ring.You must start near the support rod and establish a strong anchor point. It is absolutely non-negotiable to make a Heavy-Duty Double Knot here. This knot is not just the beginning, it is the main bearing point for all subsequent tension. If this initial knot is loosened, then the entire weave will become looser over time. Only by firmly fixing the tether to the first triangular ring can the subsequent weaving remain tight and effective.
Discover endless fun and spark imagination! Our indoor playground products create a safe, exciting paradise for children. Experience boundless joy now!
Embrace adventure and fresh air! Our outdoor playground products offer thrilling, safe experiences for kids to explore, play, and grow. Unleash the fun outside!
The core action of the fixed net is actually the 1 kind of repetitive and detailed mechanical movement: threading and circling. To correctly execute the instructions to fix the bottom of the trampoline net, you need to enter the rhythm:
Through the mesh: Push the rope through a specific mesh at the bottom of the safety net.
Round the V-ring: Hold the same rope and pass under the corresponding metal ring on the jumping mat.
Tip: it must go through every mesh and every metal ring. Any lazy jumping over holes or rings will artificially create weak points (also known as pinch points), causing the mesh to peel off the mat and destroy the entire safety sealing system.
When you push along the edge of the trampoline, you must always pay attention to the tightness of the rope. The instructions emphasize the need to “maintain consistent tension”, which is not only to prevent the net from sagging-although the loose net looks really amateur, but more importantly, it reduces the protective ability of the guardrail. I recommend stopping every few feet of weaving to tighten the rope and make sure the net is close to the mat. This continuous tension can strengthen the structural integrity of the barrier. Don’t wait until the full winding is completed before you try to tighten it, then it will be too late.
When you have completed the entire trampoline 1 circle and returned to the end of the rope, the final step is to lock in the fruits of your labor. Simple winding a few turns is far from enough. You must use a square knot or a lock knot to secure the rope end to the frame. There is a reason why the industry recommends these specific knots: they are very non-slip. You know, the trampoline will produce continuous violent vibration and movement when it is used, and ordinary knots are easy to loosen. A standard lock knot can ensure that your hard-woven net remains intact for a long time, providing a 100% safe environment for children.
Author: Mark Reynolds
“With over 10 years of experience in backyard equipment assembly and safety inspections, I specialize in creating secure play environments. I wrote this guide to help parents master the critical weaving technique, ensuring that properly tying the bottom of your trampoline net eliminates gaps and keeps your children 100% safe while jumping.”

Properly Secure The Trampoline. Learn How To Use Anchors And Sandbags To Secure The Trampoline To Grass Or Concrete.
View details
Durable Modular Trampolines. Eu Certified, 5yr Warranty & Factory Prices. Get Free 3d Custom Design Now!
View details
Does Soap Ruin A Trampoline? No, But Mild Soap Is Key. Learn The Correct Cleaning Steps And Understand The Risks.
View details
Learn About Galvanized Steel Frames, Pp Mats, Springs, And Safety Nets For Lasting Fun & Protection.
View detailsThis will close in 0 seconds