product search
Indoor PlaygroundNinja WarriorOutdoor PlaygroundTrampoline
search

To install the trampoline safety net, the first step is to recognize the “hardware” in your hand: whether you are facing an internal net (installed on the inside of the spring) or an external net (installed on the outside of the spring). This directly determines the safety margin of the trampoline.
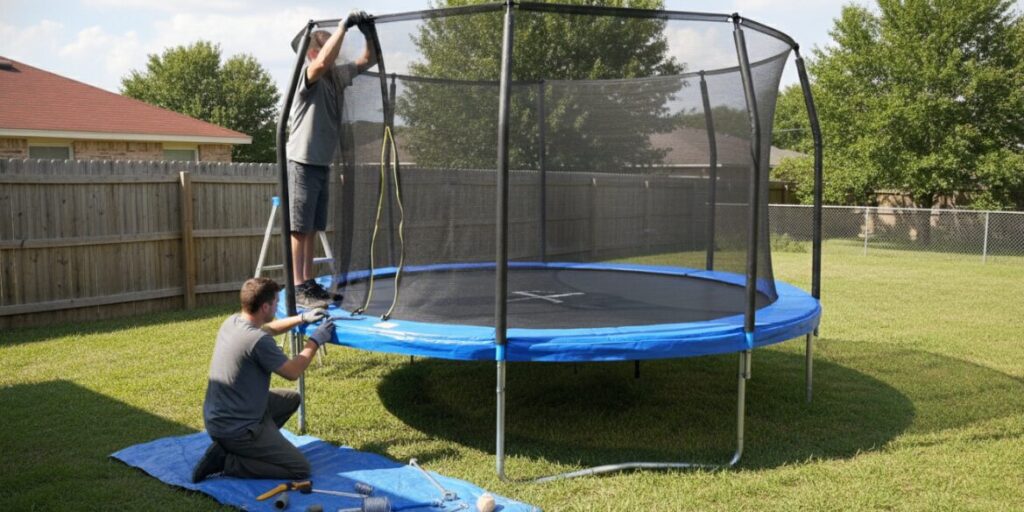
Before starting, lay the net on the jump mat to ensure that the door is accurately located in the middle of the two safety rods. Installation should start from the top and fix the net to the rod cap—whether it is sleeve type, fiberglass ring type or heavy webbing type, in short, don’t twist the net. The most easy thing for parents to take lightly is actually the fixing of the bottom: you must use that kind of high-strength rope to “weave” the net with the V-ring (inner hanging net) or frame (outer hanging net) of the jumping mat. The simple “snap-on” hanging method is not reliable at all. Only standard weaving can ensure that there is no gap larger than the size of a fist between the mesh holes and prevent the child’s limbs from sliding into the spring area.
Before you let your child go up and play, be sure to double-check that the zipper and buckle face outward and are smooth.
The following video explains in detail how to install a net on a trampoline:
Before the official start, you have to understand the structure of this trampoline. The difference in installation methods mainly stems from the design of the network, which cannot be sloppy:
Professional work starts with ground kung fu. First, lay the safety net flat on the jumping mat.
Discover endless fun and spark imagination! Our indoor playground products create a safe, exciting paradise for children. Experience boundless joy now!
Embrace adventure and fresh air! Our outdoor playground products offer thrilling, safe experiences for kids to explore, play, and grow. Unleash the fun outside!
After alignment, lift the net and secure it to the top of the safety bar. Depending on your model, it is usually one of the following three operations:
The bottom of the fixed is the vast majority of DIY installation rollover place. In order to pursue the ultimate safety, we must not rely on only a few plastic buckles.
Before the first jump, you must go through the process times like a professional security inspector:
Through this meticulous weaving and alignment, you can ensure that this safety net is not a decoration, but can really save lives at critical moments, so that the children at home away from the risk of falls and spring clip injuries.
Author : David Miller
“As an outdoor equipment specialist with over a decade of experience in backyard safety, I’ve helped hundreds of families secure their play areas. I am particularly passionate about trampoline safety, as I believe the difference between a fun afternoon and a trip to the ER often lies in the details of the installation. In this guide, I share my expertise on the critical ‘weaving’ technique and net alignment to help you create a gap-free environment for your children. “
This will close in 0 seconds