product search
Indoor PlaygroundNinja WarriorOutdoor PlaygroundTrampoline
search

I’ve personally installed and maintained hundreds of trampolines, and the importance of trampoline stability is self-evident. If a trampoline isn’t secured, it can be blown over by strong winds, causing equipment damage, and poses a serious safety hazard to users. I’ve even seen plenty of trampoline mats hanging from trees and trampolines roaming the streets. Today, I’ll share my expertise to teach you how to secure your trampoline and ensure your family’s safety.

Before anchoring a trampoline, some necessary preparations can make the whole process much smoother and avoid potential problems.
You need to choose a suitable site.
Having all the necessary tools and materials will allow you to complete the anchoring work efficiently.
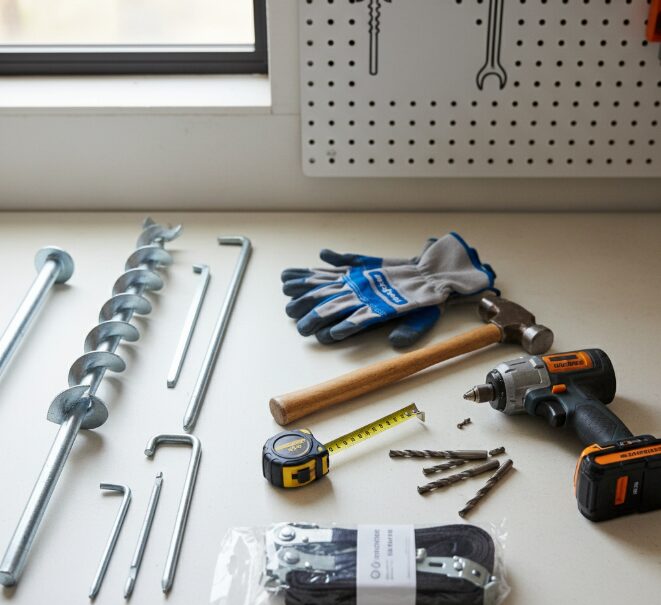
Detailed Steps:

Choosing the anchor type:
This method is more suitable for temporary fixation or as a supplement to the primary fixation method.
Some people try to use homemade fixation solutions, such as using wooden stakes, concrete blocks, or heavy objects to secure the trampoline.
While homemade solutions may seem economical, I strongly advise caution. If the materials are not chosen properly or the installation is not secure, these solutions are far less safe than professional fixation kits. For example, ordinary wooden stakes are prone to rotting in damp environments, and concrete blocks, if insufficiently sized and heavy, can also be overturned by strong winds. More importantly, if the fixation protrudes from the ground, it can cause tripping or scratches during play. Safety is always paramount. Professional products are tested and certified, providing more reliable protection.
Securing the trampoline doesn’t mean you’re done. Regular maintenance and inspections are crucial.
Monthly Inspection: Check the tightness of all straps at least monthly. Wind, sun, and daily use of the trampoline can cause the straps to loosen.

Inspect Anchors: Ensure the ground anchors are still firmly screwed or hammered into the ground, with no signs of loosening or corrosion.
Inspect Frame Connections: Ensure there is no wear or tear at the connection between the straps and the trampoline frame.
Before Storm Weather: Before strong winds or storms are forecast, be sure to double-check all securing devices. If the wind is too strong, it is strongly recommended to temporarily remove the trampoline’s safety net and bounce pad to reduce the wind-exposed area.
Q: Does my trampoline need to be secured?
A: It is strongly recommended that all outdoor trampolines be secured, even if you live in an area with low wind speeds. Wind is unpredictable, and a sudden strong wind can cause irreparable damage.
Q: Can I use ropes to secure the trampoline?
A: Ordinary ropes are usually not strong enough and are prone to aging and breaking under UV exposure. Professional straps are made of more durable materials and come with professional tightening devices for better securing.
Q: How long should my trampoline anchors be?
A: For most home trampolines and ordinary ground (such as grass or dirt), a spiral anchor between 30-45 cm (12-18 inches) in length is recommended. If your soil is very loose and sandy, or if you live in a windy area, I would recommend using longer anchors, such as 45-60 cm (18-24 inches) or even longer.
Q: Can the securing kit be reused?
A: Spiral anchors can generally be reused, especially if they are not deformed or damaged during disassembly. Before reinstalling, check the spiral part for deformation and the surface coating for damage to prevent rust.
J-shaped or U-shaped anchors are more prone to deformation when hammered in and pulled out. If they show obvious bending or damage after being pulled out, they should not be reused. Their rust-preventive coatings may also be damaged during the hammering process.
Securing a trampoline is not just about protecting your property, but also about the safety of you and your family. Having worked in this field for many years, I have personally witnessed various accidents caused by unsecured trampolines. Trampolines have flown out of the yard, damaged houses or neighbors’ property, and in more serious cases, even caused personal injury. Choosing the right securing method, taking the time to install carefully, and conducting regular checks are things any trampoline owner should do; they bring you long-term peace of mind and joy.
提交产品咨询
我们将会在24小时内联系您